If you have been following my recent guides on the best VPNs for Android or our deep dive into HA Tunnel Plus vs. Droid VPN, you know that “tunneling” is one of the most effective ways to bypass ISP restrictions.
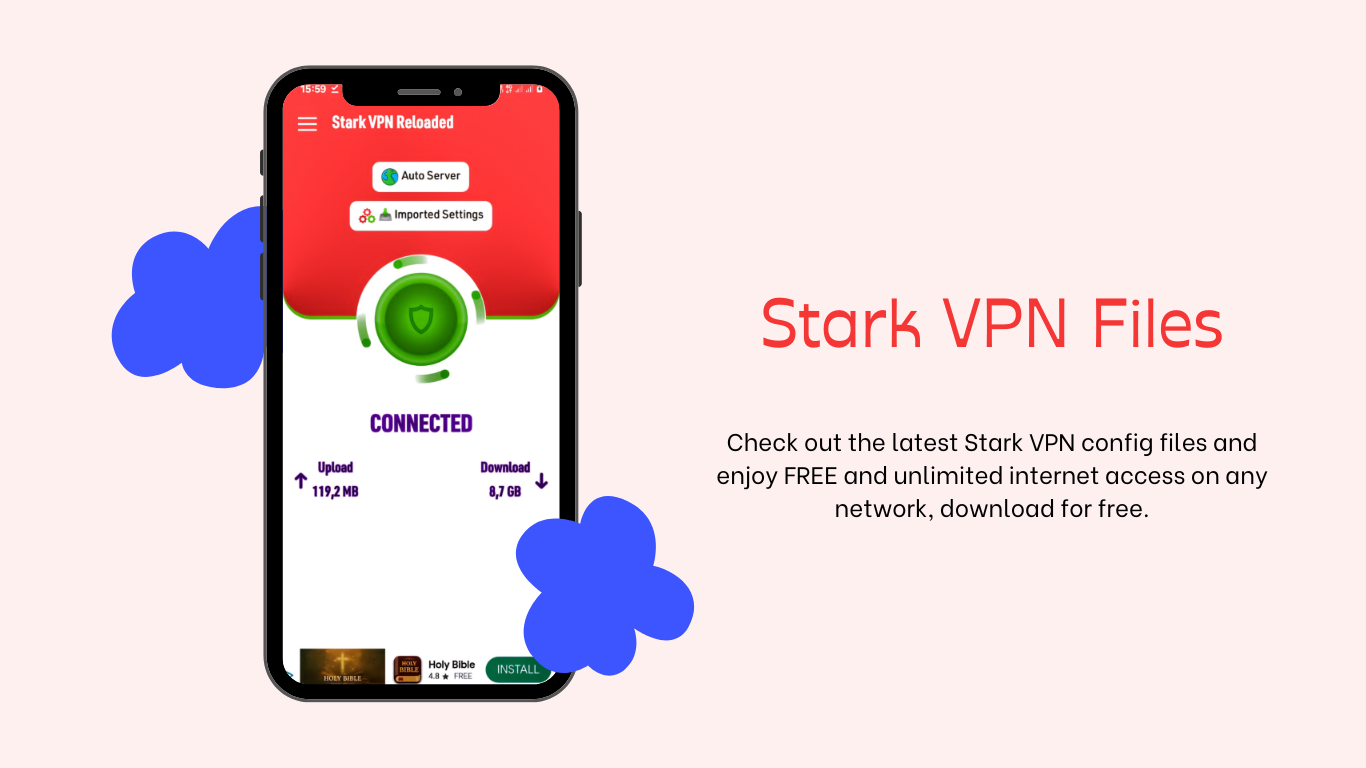
Today, I’m introducing you to another heavyweight in the free internet community: Stark VPN Reloaded.
Stark VPN is widely praised for its simplicity. While other apps require complex coding, Stark VPN often works with a single tap.
In this guide, I will show you how to download, install, and configure it for the best results this year.
What makes Stark VPN Reloaded Different?
Unlike traditional VPNs that focus solely on privacy, Stark VPN is a “tweaking” tool. It is designed to find “loopholes” in network headers to allow data to pass through without being charged.
Top Features:
- One-Tap Connection: No account registration or login required.
- Custom Payload Support: Allows you to import specific “tricks” via
.starkfiles. - Lightweight Build: It uses very little RAM, making it ideal for budget Android phones.
- Protocol Flexibility: Supports HTTP, TCP, and the increasingly popular V2Ray mode.
How to Safely Download and Install Stark VPN
To maintain your security, always download the app from the Google Play Store. Avoid downloading APKs from unknown websites, as a study by the ICSI found that many free VPN apps can contain hidden trackers or malware.
Installation Steps:
- Search: Look for “Stark VPN Reloaded” on the Play Store.
- Install: Tap the install button and wait for the download to finish.
- Permissions: Upon first launch, grant the app “VPN Connection” permissions. This is necessary for the app to route your traffic.
How to Set Up Stark VPN for Free Internet
There are two ways to get Stark VPN running. Here is my step-by-step breakdown:
Method 1: Using Built-in Tweaks (The Easy Way)
This is perfect if you don’t want to deal with manual files.
- Open the app and tap the Settings icon.
- Select Custom Settings or Tweaks.
- Choose your country and network provider from the list (e.g., MTN, Airtel, or Glo).
- Return to the home screen and tap the large Connect button.
Method 2: Importing Custom Config Files (The Pro Way)
If the built-in tweaks aren’t working, you likely need a custom .stark file from a trusted community forum or our latest config update section.
- Download the config file to your phone.
- In Stark VPN, tap the menu (three lines) and select Import Config.
- Locate the file in your “Downloads” folder.
- Once imported, tap Connect.
Comparison: Stark VPN vs. Competition
| Feature | Stark VPN | HA Tunnel Plus |
| Ease of Use | Very High | Medium |
| Connection Speed | Stable | Variable (Config dependent) |
| Battery Usage | Low | Moderate |
| Customization | Good | Excellent |
Troubleshooting Connection Issues
If your VPN won’t connect, try these quick fixes I use myself:
- Update Tweaks: Tap the “Update” button inside the app menu to fetch the latest server list.
- Airplane Mode: Toggle Airplane mode on and off for 10 seconds to refresh your network signal.
- SNI Verification: If using a custom config, ensure the SNI (Server Name Indication) hasn’t been blocked by your ISP. You can learn more about SNI at Cloudflare’s Learning Center.
Final Thoughts: Is it Safe?
Stark VPN Reloaded is a fantastic tool for saving on data costs, but it should not be your primary tool for sensitive work.
According to Palo Alto Networks, free tunneling apps often lack the “Zero-Knowledge” audits that premium providers have.
Use Stark VPN for YouTube, social media, and general browsing. For banking and private emails, I still recommend a premium provider from our Best VPNs list.
Need the latest config files? Keep an eye on our TechTrix community page for daily updates!